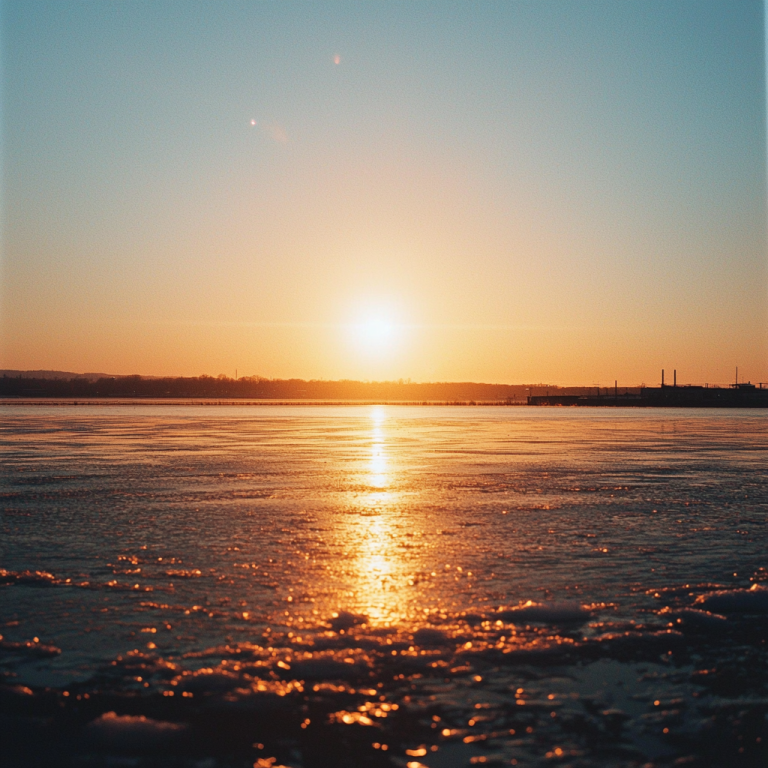
For professional photographers, mastering natural light is one of the most powerful tools in capturing stunning images. Among the many lighting conditions available, golden hour stands out as the ultimate opportunity to create warm, soft, and visually striking photographs. In this post, we’ll explore why golden hour is so special and how to make the most of it in your photography.
What is Golden Hour?
Golden hour refers to the short period after sunrise and before sunset when the sun is low in the sky. The light during this time is softer and more diffused compared to midday, reducing harsh shadows and enhancing the overall warmth of an image. The atmospheric conditions scatter blue light, leaving behind rich golden tones that add depth, dimension, and a cinematic quality to your photos.
Why is Golden Hour Ideal for Photography?
- Soft and Diffused Light – The sun’s angle creates natural diffusion, eliminating harsh shadows and reducing contrast.
- Warm, Golden Tones – The unique color temperature of golden hour light enhances skin tones and adds richness to landscapes.
- Longer Shadows and Depth – The low angle of the sun casts elongated shadows, adding texture and a three-dimensional feel to your compositions.
- Natural Rim Lighting – Backlighting subjects during golden hour creates a glowing rim light effect, adding drama and separation from the background.
- Versatile Shooting Conditions – Whether capturing portraits, landscapes, or architectural shots, golden hour provides a flattering, natural aesthetic.
How to Maximize Golden Hour Light
1. Plan Your Shoot in Advance
Golden hour is fleeting, typically lasting 30-60 minutes depending on your location and the season. Use apps like PhotoPills or The Photographer’s Ephemeris to track sunrise and sunset times and plan accordingly.
2. Use the Right Camera Settings
- Shoot in RAW – This allows for maximum flexibility in post-processing to fine-tune exposure and white balance.
- Adjust White Balance – Use the ‘Shade’ or ‘Cloudy’ setting to enhance the warmth, or manually tweak the Kelvin temperature for precise control.
- Optimize Aperture and Shutter Speed – For portraits, use a wide aperture (f/1.8 – f/4) to achieve a dreamy bokeh effect. For landscapes, stop down (f/8 – f/16) to maximize depth of field.
- Use a Reflector or Fill Light – If shadows are too strong, a simple reflector or a subtle fill flash can help balance the exposure.
3. Experiment with Different Angles
- Backlighting – Position your subject with the sun behind them to create a soft halo effect.
- Side Lighting – Shooting with the sun to the side enhances textures and creates depth.
- Silhouettes – Expose for the background to create dramatic silhouettes against the warm sky.
4. Utilize Natural Elements
Golden hour works beautifully with water, glass, and reflective surfaces to create stunning light effects. Look for natural elements like trees, buildings, or hills to frame your shots and enhance the visual storytelling.
5. Enhance Your Photos in Post-Processing
- Adjust Exposure and Contrast – Fine-tune brightness and shadows for a balanced look.
- Enhance Warmth and Color Grading – Use temperature and tint sliders to bring out golden hues.
- Fine-Tune Highlights and Shadows – Recover details in the brightest and darkest areas to maintain depth.
Golden hour offers photographers an unparalleled opportunity to capture magical, atmospheric images with minimal equipment and post-processing. By planning ahead, understanding light angles, and using the right camera settings, you can elevate your work and create breathtaking visuals that stand out. Next time the sun starts to dip, grab your camera and make the most of nature’s most beautiful lighting moment!
Are you a golden hour enthusiast? Share your best shots and tips in the comments below!
